Jun 6th 2023
If you're a creative person, you love adding your own personal touches to just about everything. With Mimeo Photos for Mac, there are multiple ways you can add custom elements to your photobooks.
Handwriting & Hand Lettering
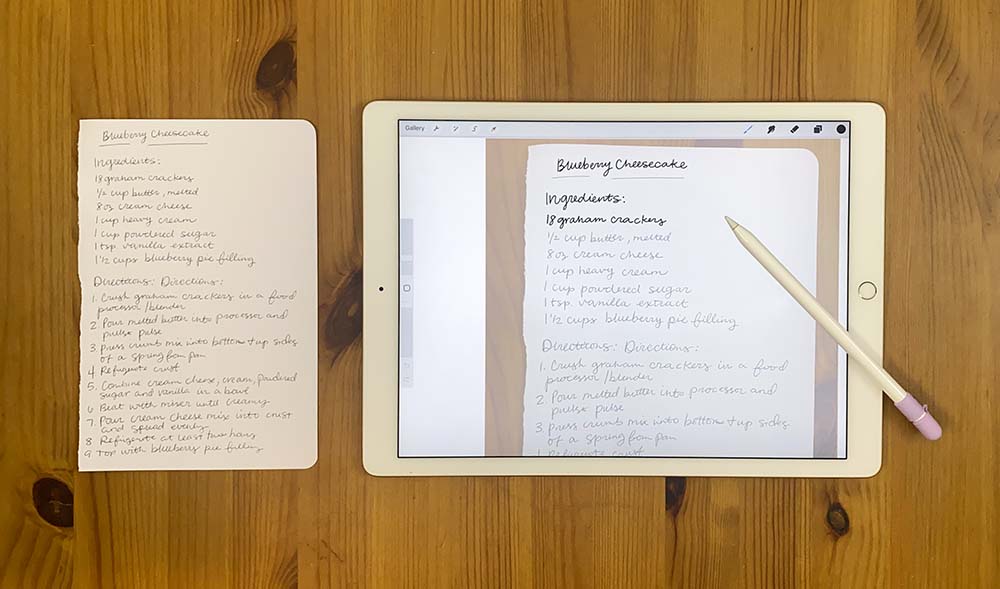
Add an extra-special element to your next photobook by including handwriting or hand lettering. Take a photo of your handwritten text, then trace the text with an iPad Pro and Apple Pencil within a design program like Procreate. Once you like the look, export as a JPG and insert in your project in the Mimeo Photos macOS extension. Try this with handwritten recipes for a recipe book, character signatures from a Disney trip, vows in a wedding album, and so much more.
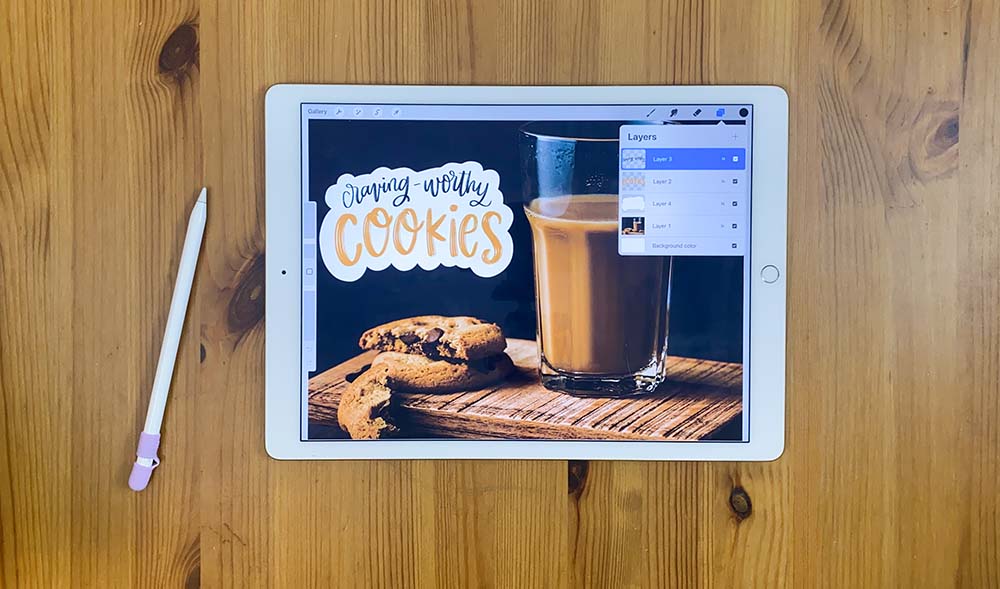
Take your handwritten elements to the next level by creating your own sticker-style text to overlay on your photos. Do this by creating an artboard the size of your photobook page within Procreate or your design tool of choice. For example, if your photobook is 13 x 10”, that’s the size artboard you’ll work with. Then, add your photo to the artboard and create your lettering on a new layer. For the sticker effect, add a layer below your lettering where you’ll draw along all of the curves of your letters, slightly offset to create space between the letters and your outline. Then fill the shape with the color of your choice (white tends to work best).
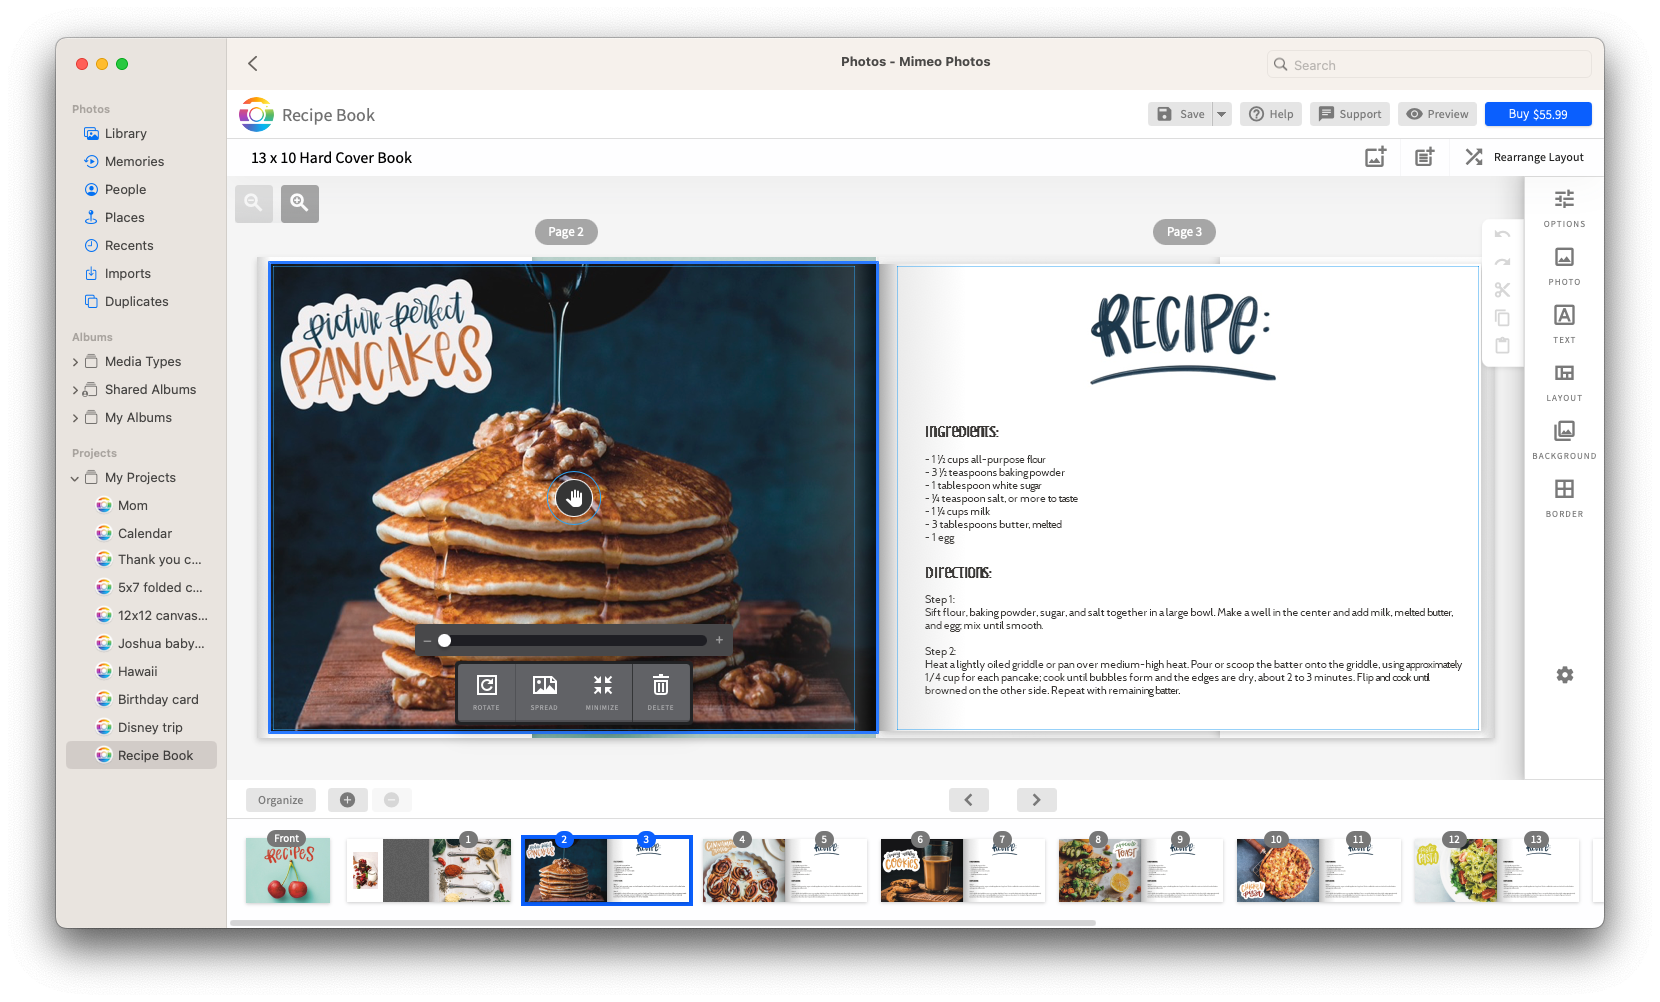
Once you’re happy with your design, export as a JPG and insert on any page of your photobook. This type of custom element is great for labeling items or places, and adding interest to the page.
Create Your Own Background
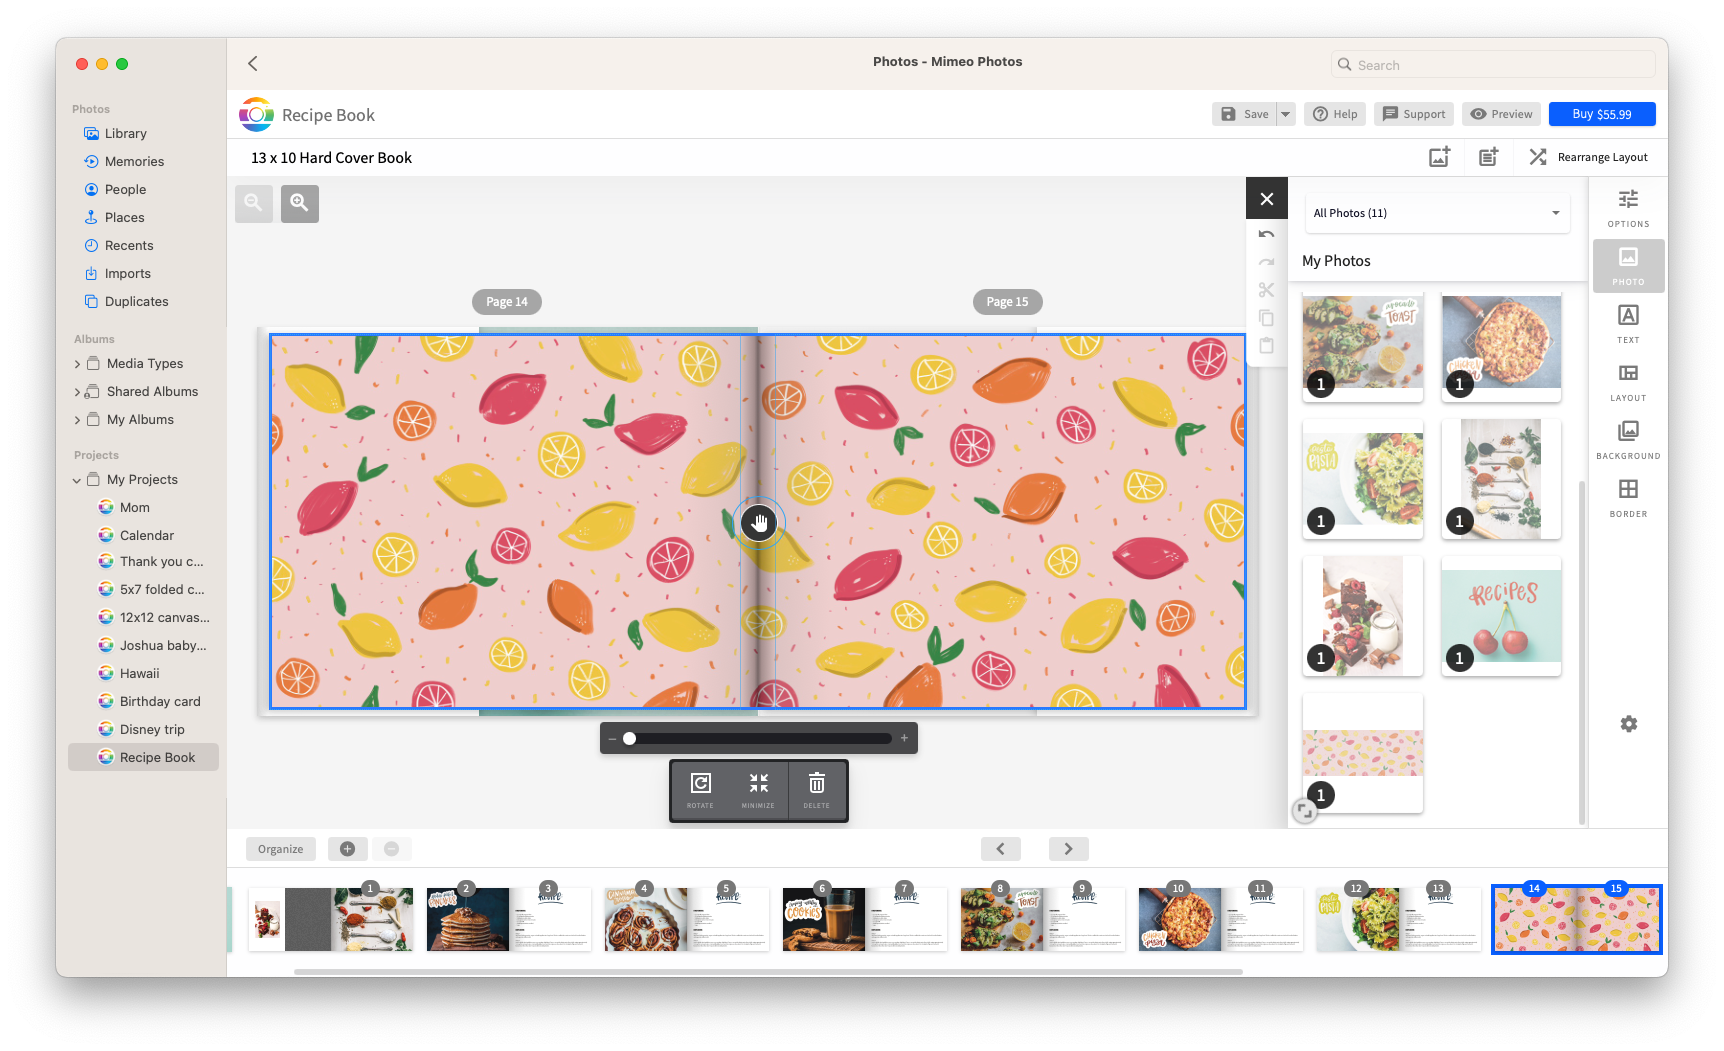
Mimeo Photos for Mac includes more than 200 customizable background options, but if that isn’t enough for you then you can make your own! Using Procreate or your design tool of choice, work on an artboard twice as wide and the same height as your book. For example, if your book is 13 x 10”, you’ll need an artboard that’s 26 x 10”. Then, create your design and export as a JPG.
To apply across a full spread within the Mimeo Photos macOS extension, first click on your spread and click the Layout button. Then select Spread, choose the 1 Photo option and choose the first available spread. Next, you can pull your custom background photo onto the spread. With the image selected, choose the Background option from the pop-up. This will allow you to overlay images on top of your custom background.
Make the Cover as Unique as You
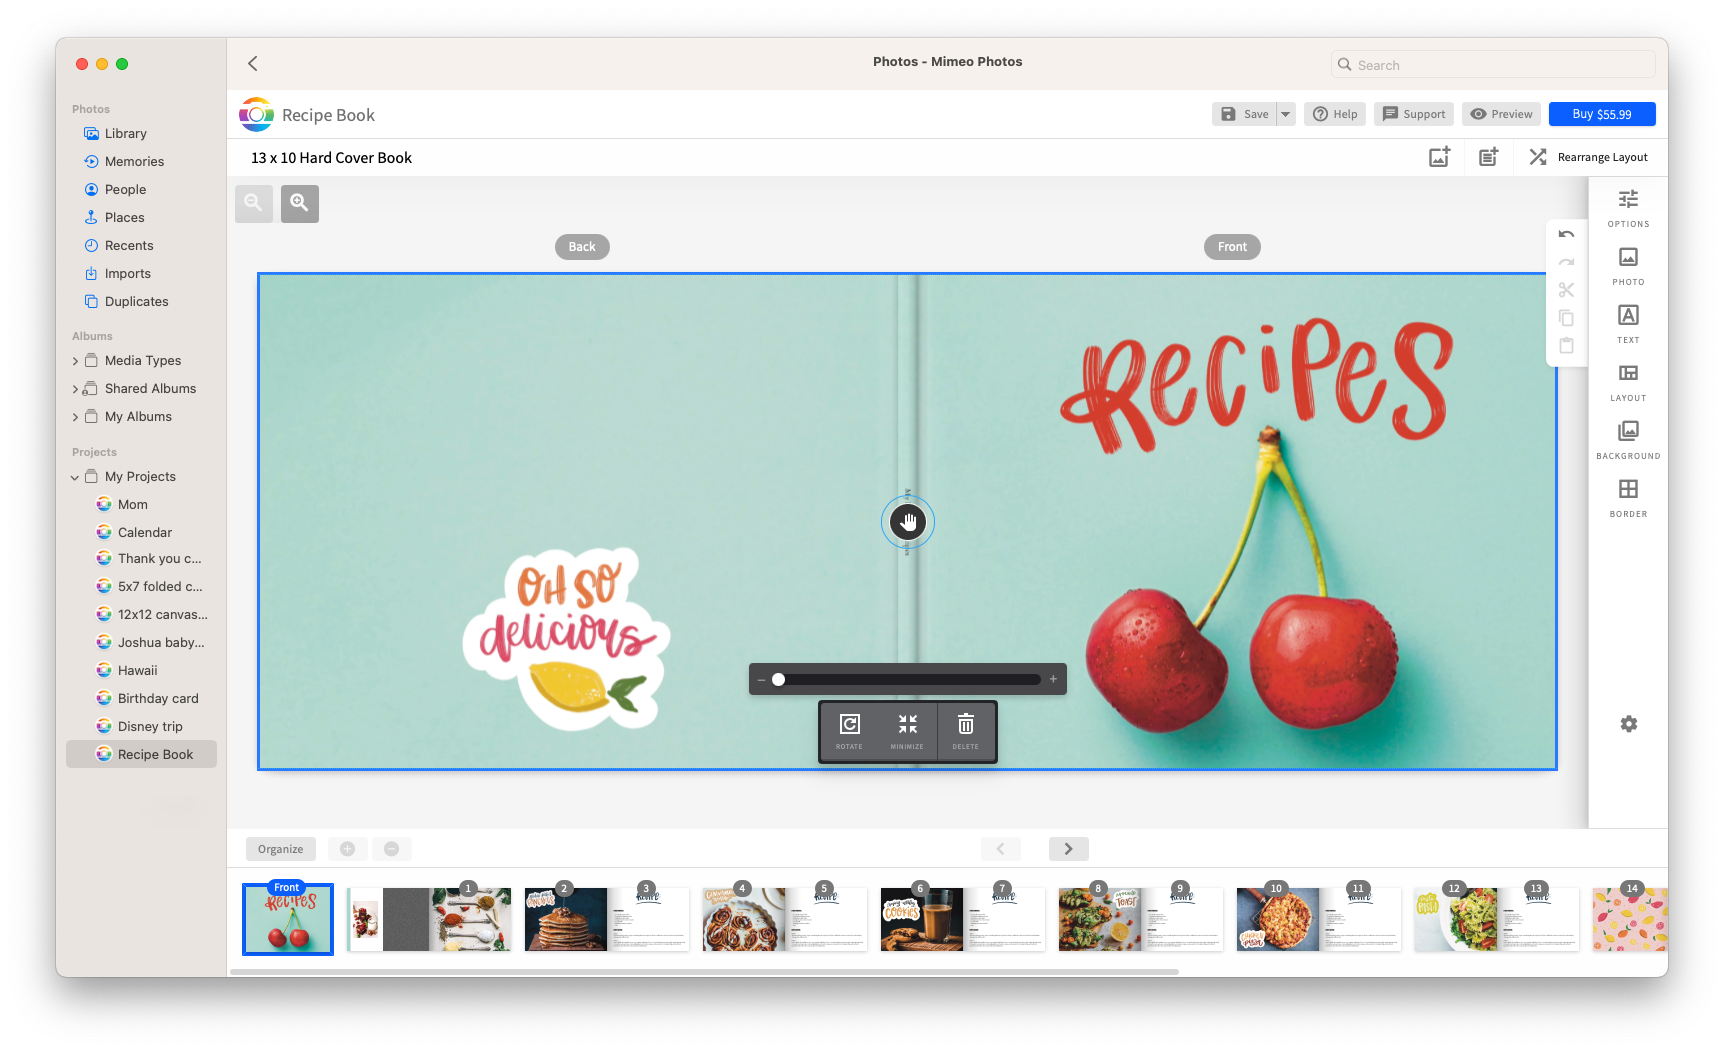
Now that you know how to add custom artwork and handwritten elements to your photobooks, it’s time to put the finishing touches on the star of the show – your photobook cover. With Mimeo Photos for Mac, you can customize the front, back, and spine of your photobook. Add custom illustrations, hand lettering, or illustrated borders to your images.
Create the elements on your iPad in Procreate or using the design tool of your choice, then export as a JPG and insert directly on the cover of your book. To create a full-bleed cover that spans across the front, back and spine of your book, use an artboard that is triple the width and the same height as your book. For example, if your book is 13 x 10”, you’ll need an artboard that’s 39 x 10”.
Which custom elements will you try on your next photobook? Get started now with
Mimeo Photos for Mac.


