Jul 16th 2019
New features, new projects and new photos make for a perfect time to create your own Mimeo Photos photobook. But, with so many different ways to build your pages and organize your spreads, it can sometimes become challenging to find the perfect fit for the story you're about to tell.
To make sure your Mimeo Photos photobook looks organized and creative, follow these tips on how to effectively use layouts.
1. Use the Rearrange Layout Tool
Unsure about which layout looks best? Starting with version 3.6.1 of Mimeo Photos, the app builder now offers the ability to instantly shuffle a page’s layout.
Simply click the “Rearrange Layout” option at the bottom of the “Layout” panel. This feature will cycle through possible configurations based on the number of images you have on the page to find the perfect fit.
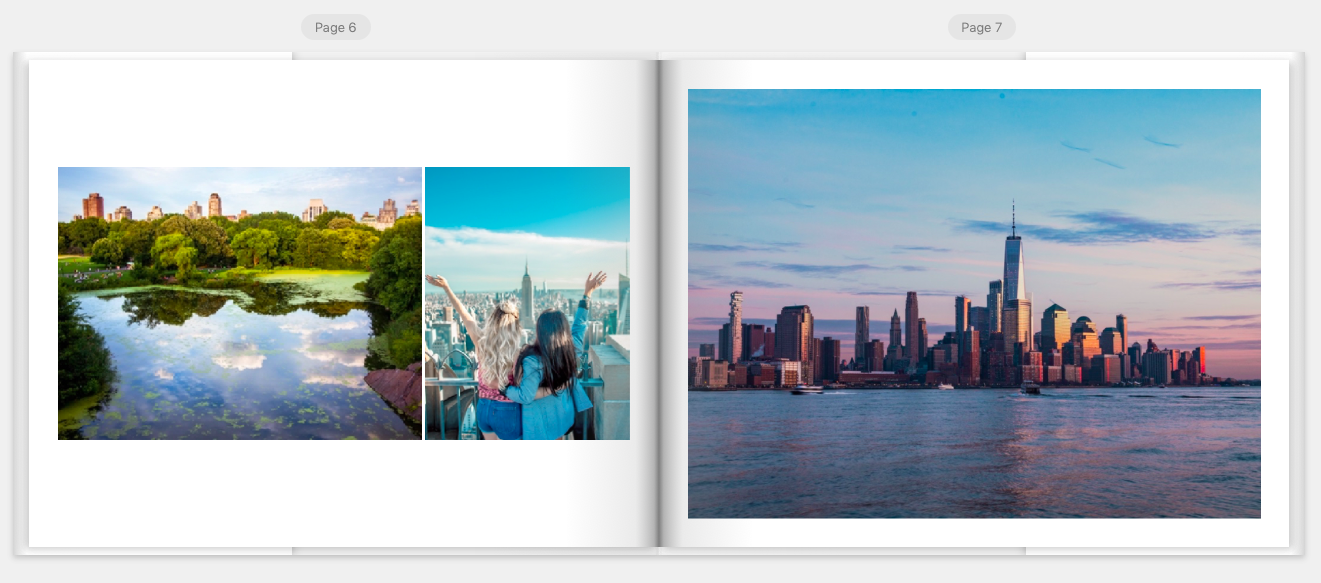
2. Understanding Pages vs. Spreads
In the Layout menu, you have the option of selecting either a page layout or spread layout. But, how do you know which option to use?
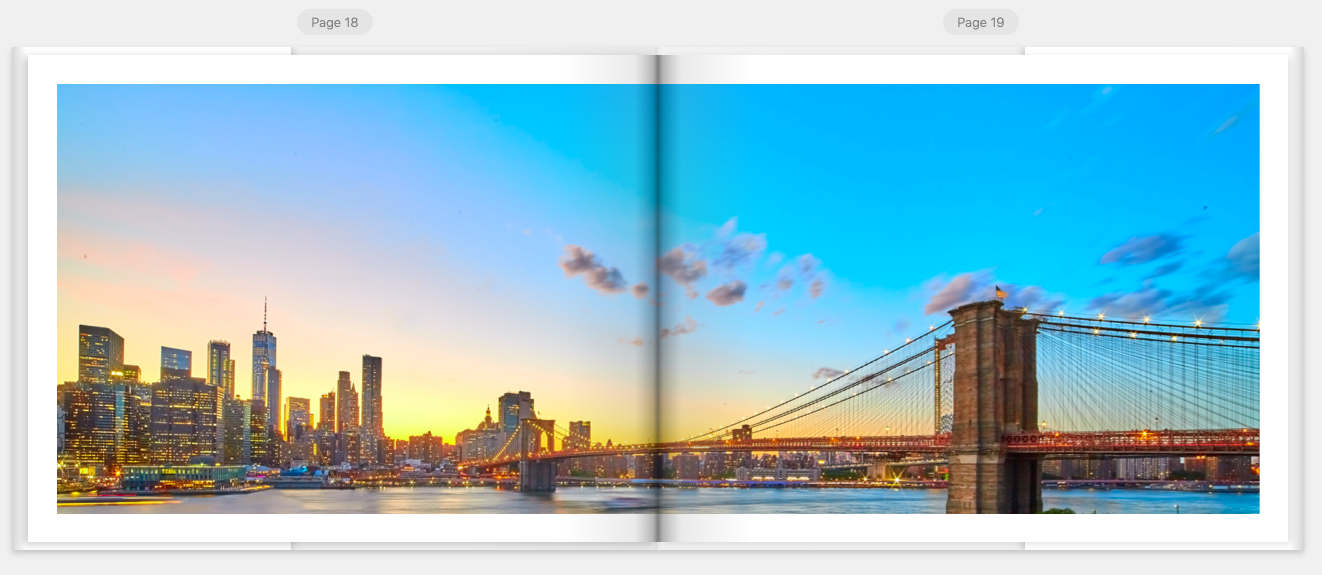
Depending on the quality of your images, spread layouts are best for higher quality photos, since they will be stretched across two pages. Using a landscape or panorama shot is also best for a spread layout so that the entire long shot is featured clearly.
Opt for a page layout for your portrait or lower resolution photos.
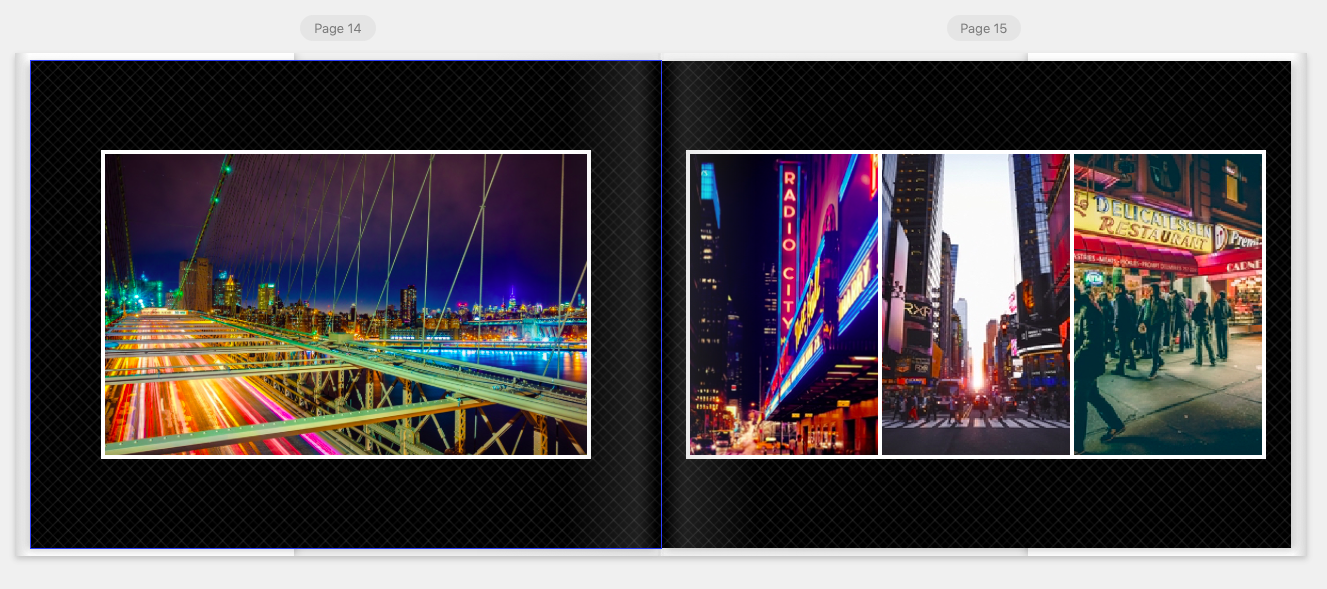
3. Achieve Balance
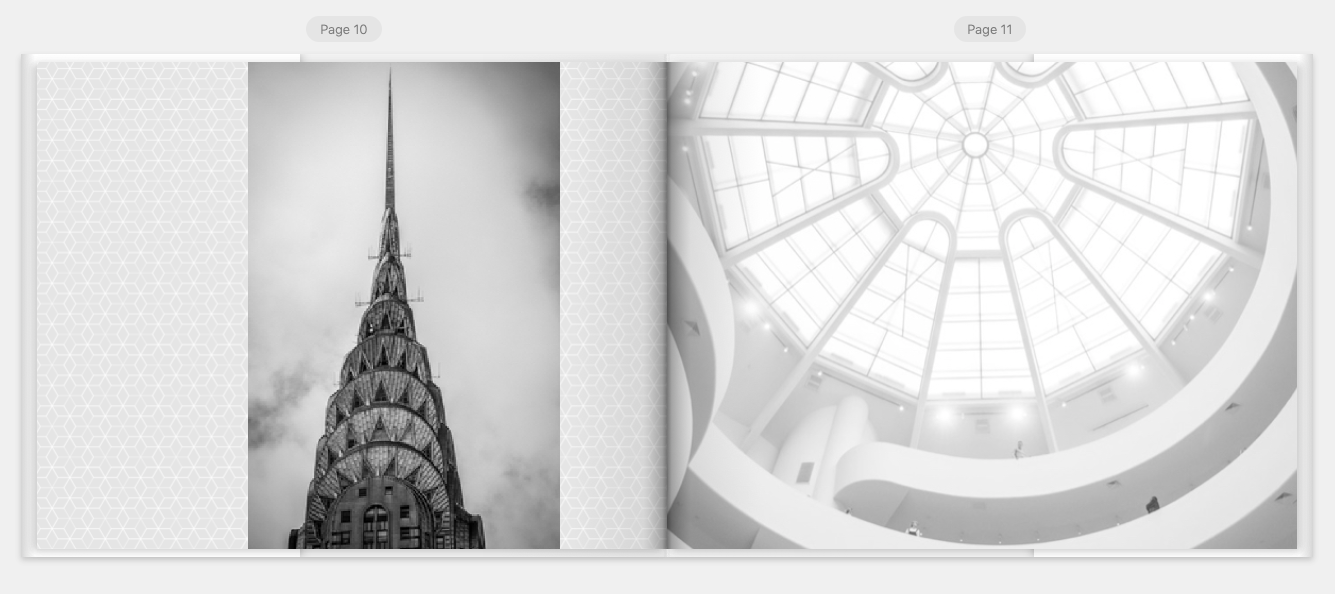
Achieving balance can mean a bunch of things when talking about a personalized photobook. It’s best to keep an eye out for negative space, symmetry, and colors.
Make sure your photos are carefully selected and flow together. Don’t be afraid to emphasize a theme (such as black and white moods depicted above) to ensure a smooth transition throughout the photobook.
4. Add Personalized Text
Whether you’re pointing out a location or have some memories you’d like to jot down, adding text to your selected layout gives your photobook that personal touch.
You can add text by selecting the text icon on the toolbar or by selecting the “Layout with Text” option within the layout icon.
5. Add Borders & Backgrounds
To complement your photos, add a stylized element such as a patterned background or a border around an image add to making your photobook. The colors on these advanced backgrounds can also be altered to match your photos.
(Learn more about how to Mimeo Photos borders and backgrounds.)
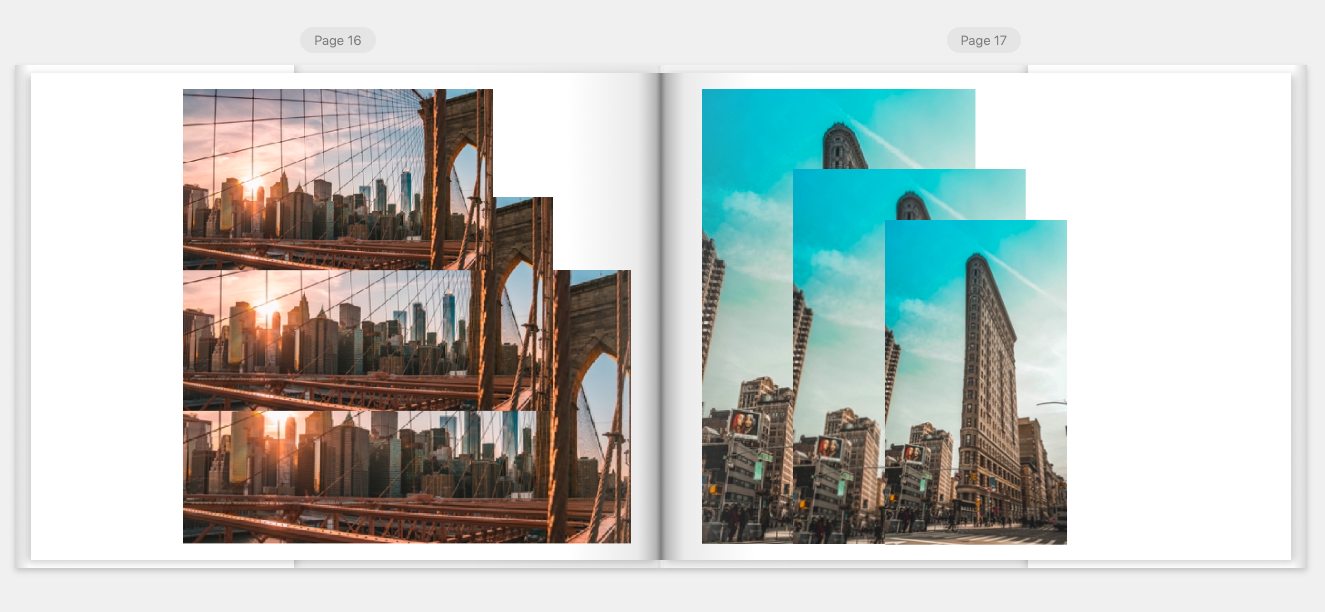
6. Remember, Less is More
Avoid cluttering your photos onto one page or spread. Too many photos on one page can often look disorganized and distracting. Sometimes it’s better to be minimal and use the pre-existing Mimeo Photos layouts to better organize your photos, making them more evenly spaced and evenly sized.
7. Tap Into Your Creative Side
It’s your photobook so it should represent what you would like to feature. Make it your own by adding some personal touches and sticking to your personal style. With the help of the layout tool, tell a story with your Mimeo Photos photobook in an organized and unique way.