Jul 22nd 2022
Here you are at the final step of creating a photo project and you want to make sure it comes out exactly as you’ve imagined it. Exporting your PDF is a beneficial tool for proofing a project, identifying spelling and grammatical mistakes, misaligned photos, or incorrectly cropped photos.
If you haven’t created a PDF yet, click here to learn how to export a PDF of your project.
After opening the PDF sent to your email inbox, don’t just do a quick scroll, you are going to want to closely look at every page for any critical mistakes.
Here are a few best practices to ensure your photo project looks exactly how you’ve envisioned it:

Revisit Every Image
You want your photos to pop and turnout exactly as you placed them, so it’s important to go over every image. Here’s what to look for when reviewing your photos:
- Confirm that each picture is properly aligned to your liking.
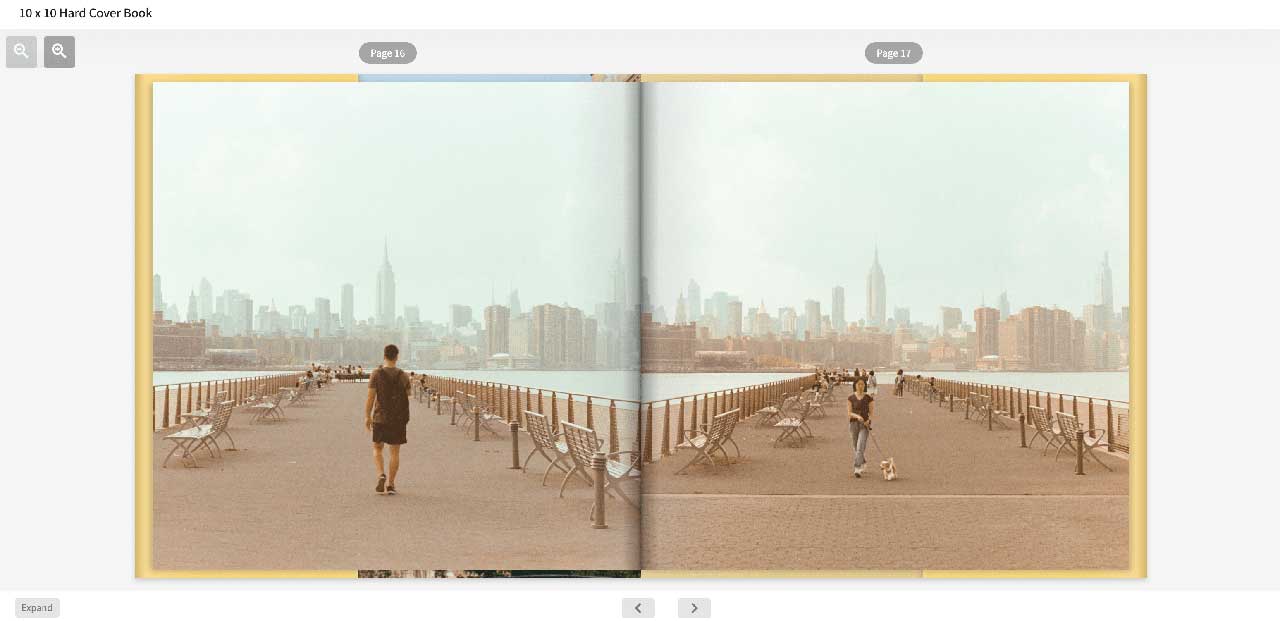
- For any photos spread across two pages (i.e. a spread), be aware that the very center of the photo will be in the binding, so you may want to adjust the image.
- If you used borders on your photo, make sure the image isn’t placed right on the edge of a page.
Confirm Your Screen Brightness
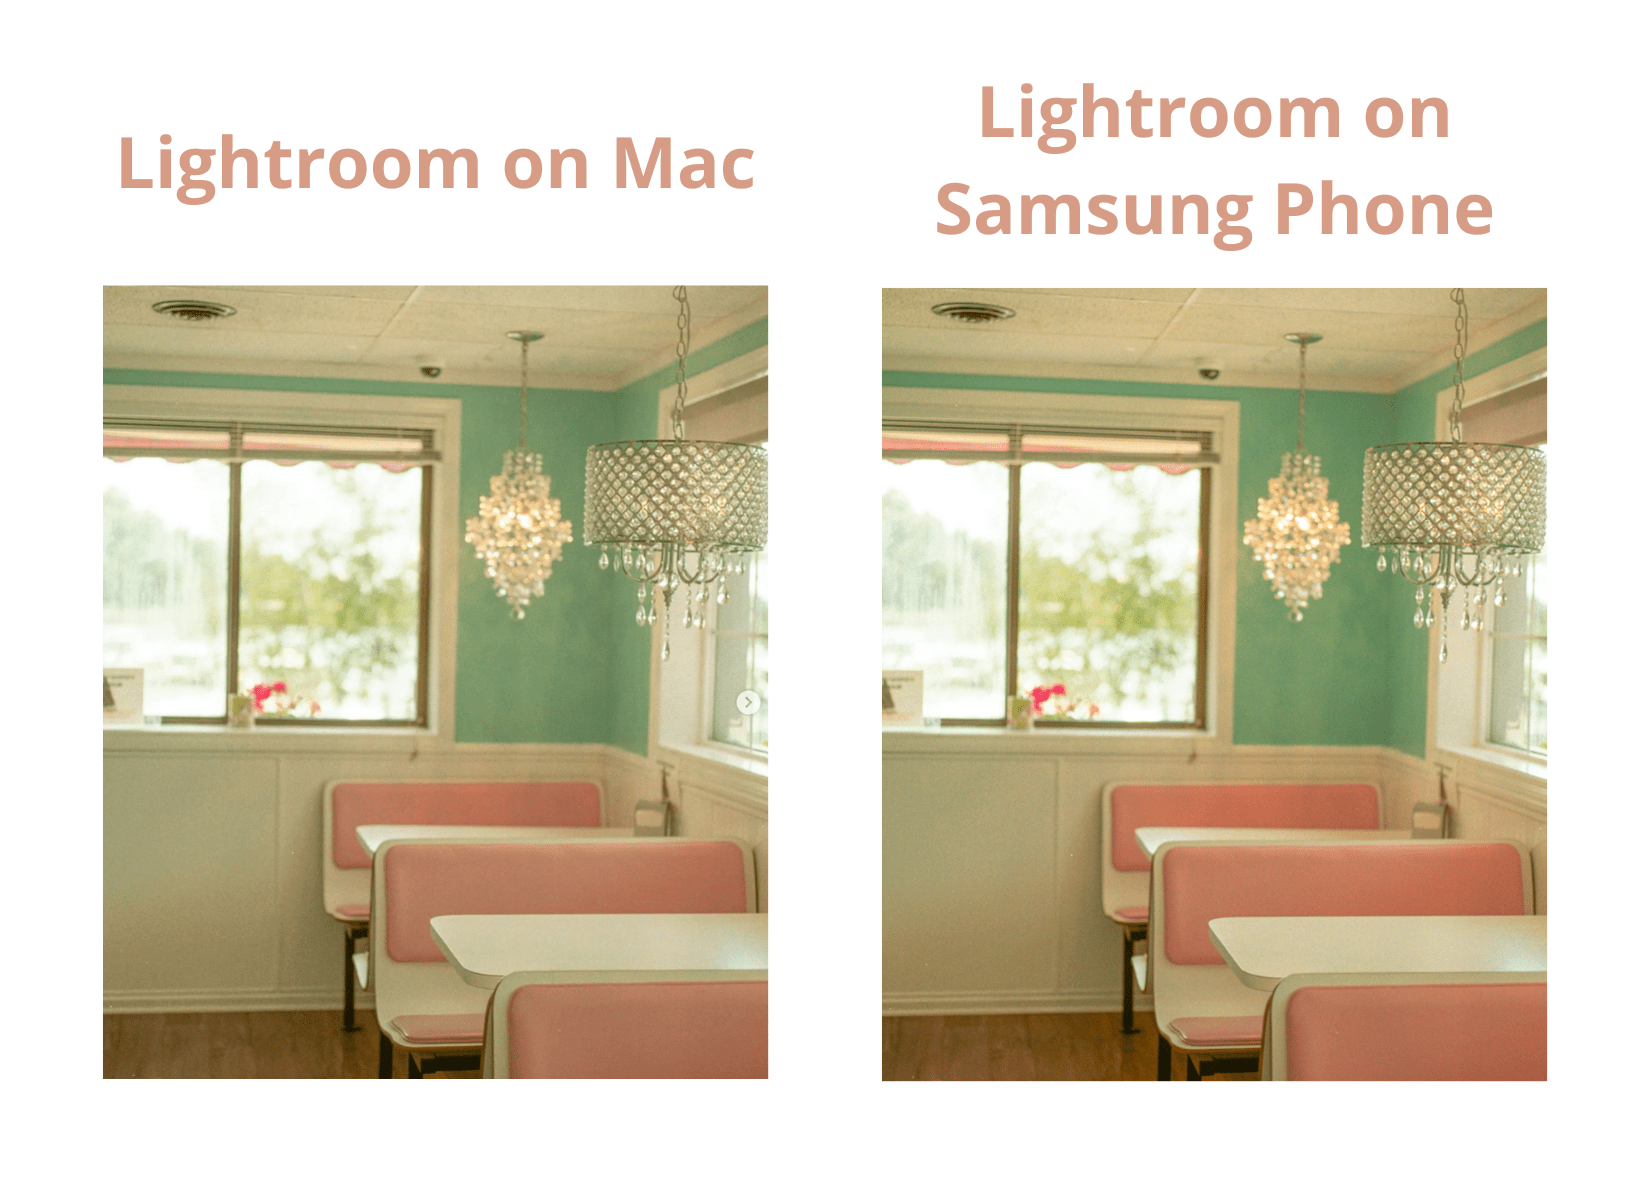
Want to get more technical? Calibrate your monitor to balance and correct the colors. Remember that your computer has an adjustment for brightness and images can appear brighter on a screen than in print. Normally, monitors are too bright in the default settings for photo editing, especially if you print. A good rule of thumb is to set your screen to 75% of the maximum brightness.
Below depicts a photo displayed on a Mac compared to a Samsung phone. Note the difference in brightness and colorization.

Check Your Text:
- If you used text, check if anything is misspelled or missing a space between words
- Remember you can add a title to the spine if you created a hardcover photobook
- Make sure that light colored text isn’t on a light colored background
After you have looked through the PDF, we highly recommend you send it to multiple friends, family members, or co-workers who can look over it with a fresh pair of eyes. This will give you a new perspective and hopefully they will catch any mistakes you may have missed.
It doesn’t hurt to look over it one more time after you’ve gathered others feedback, as soon as your project is printed it will live on forever so you want to make sure it’s perfect!
Printing Your Mimeo Photos PDF
Now you’re ready to print! You can of course order the project through our app, or you can upload it to our import site. Since the PDF is already downloaded onto your computer, using our import service can save you a little extra time.
To upload your PDF:
- Navigate to the import site.
- Drag and drop your PDF onto the site or click Upload Print-Ready PDF.
- Follow the remaining prompts to order your project.
- After the upload process is complete, enter in your shipping and payment information and click Submit.
- You will receive an email confirmation once complete.


