Jan 8th 2020
It’s the season of travel. To some, vacation means relaxing with your toes in the sand and for others it involves a day flying down the slopes. It’s the memories that make up these trips that make any trip — no matter your choice of leisure.
We asked our Creative Director (and world traveler), Nigel Barker, how he captures these moments. Read on for his pointers on how to take the best photos for your next beach or ski vacation.
You recently shared some stunning shots from your beach vacation. What was one of your favorites? And, how did you get the shot?

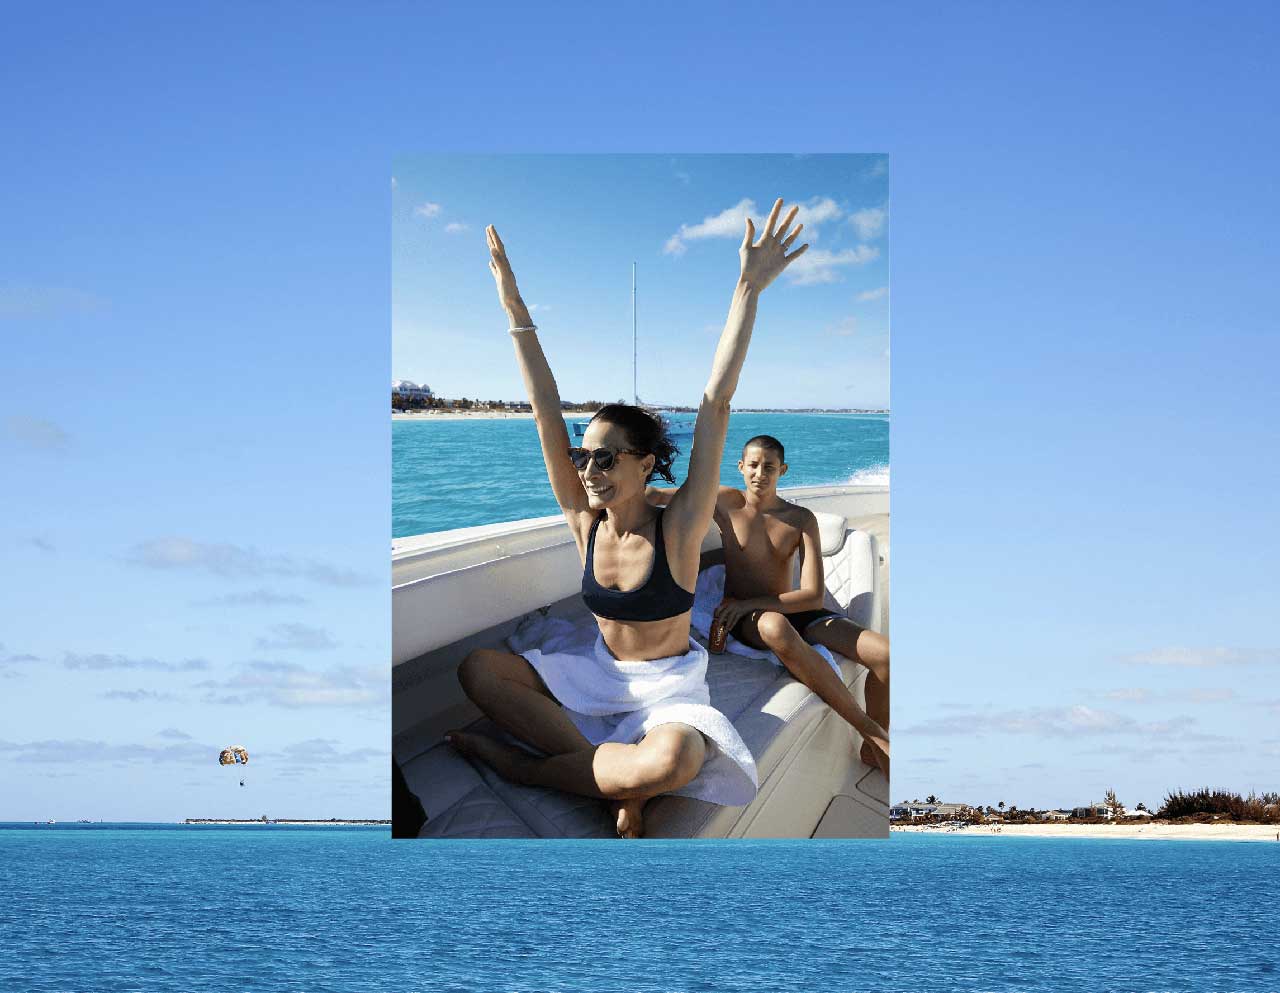
Well it’s no secret that my favorite muse is my wife — I’ve been photographing her for 25 years now! As usual, we set some time aside to shoot not just the average seaside pictures, but images that transport the viewer into another world.
You will see that in the shot it looks like it’s just my wife and our boat anchored offshore. The reality is that there were 10 other people with us and several other boats in the area. I used a long lens (70-200mm) to cut out all of the other action. Then I laid down in the sand at the same level as Crissy to capture the perspective of lying right next to her.
That angle also helped emphasize the arch in her back and the shape she was creating. Because it was midday and the sun was high in the sky, her body and face directed towards the sun, removed a couple of worries. This pose meant that I didn’t have to deal with unwanted shadows under her eyes and my exposure was far more even as the whole image is lit.
I highly recommend that all photographers set aside time to shoot some “personal work” even when you're just having fun. Environments like this help challenge your creativity and you can often walk away with timeless images.
It's not a true beach trip without capturing a sunrise or sunset. How do you capture the warm, diffused light?
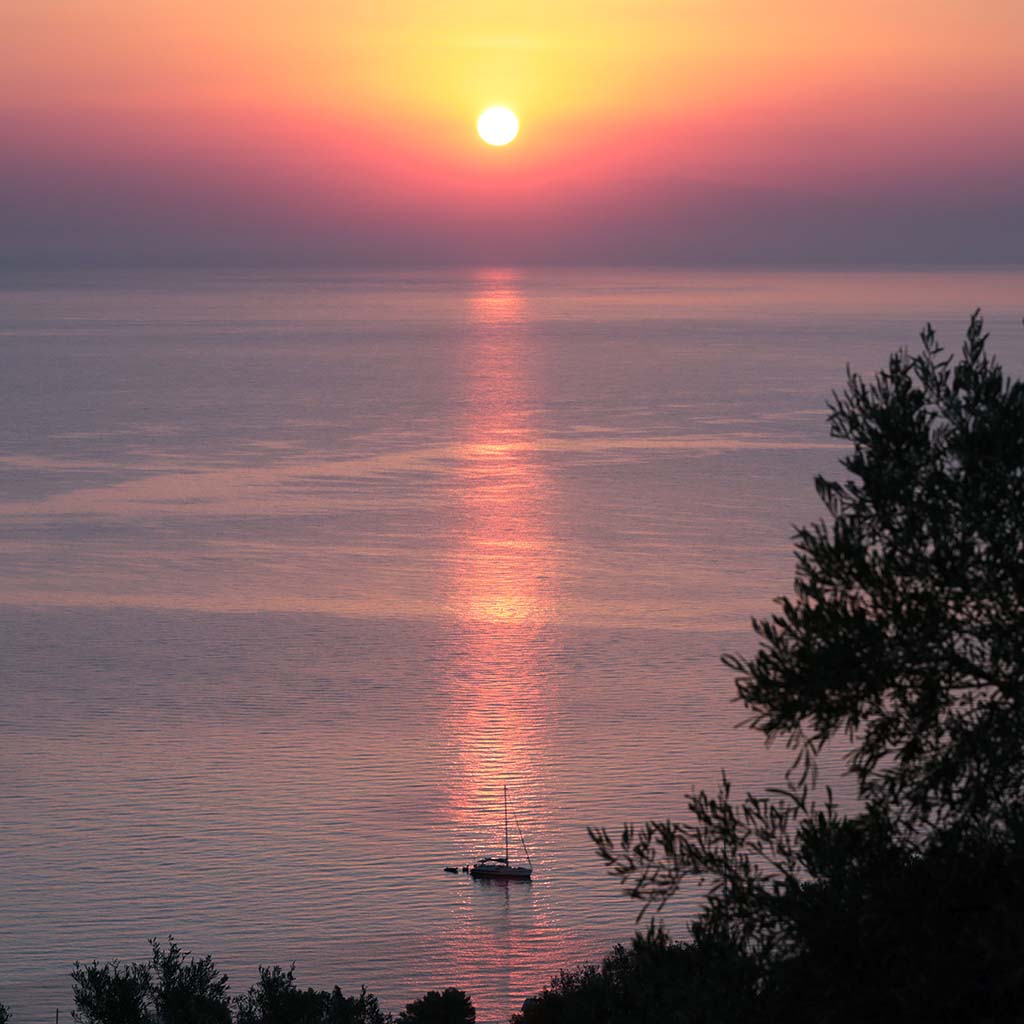
Who can resist a great sunset or sunrise? And with either, it’s all about timing and patience.
I have a sunset/sunrise app on my iPhone that helps me understand when the golden hour will occur. However, it’s important to be ready and set up at least 15 minutes before and after the official sunset.
In fact, sometimes the most beautiful moments, in my opinion, are right after the sun has set and the night sky and clouds are lit up for a final farewell. As the sun is constantly moving and depending on the cloud coverage, dipping in and out of view, the light is constantly changing and I like to shoot images throughout the whole period, checking my exposure and making sure I don’t miss a sudden light flare as the sun comes through the clouds.
With a DSLR, I set my ISO to a midrange of 400 and shoot at approximately 250 at F11/F8 when facing directly into the sun. On an iPhone I touch the screen directly where the sun is and expose for the sun as much as possible. Like this, it’s easier to bring back darker areas than to salvage blown out areas. Also, by exposing for the sun, all of the colors in the image will become much more vibrant and saturated.
Other than your iPhone, what are some easy to pack devices or accessories to take with you out on the water?
I always have my iPhone on hand. Although it’s water resistant, I highly recommend carrying everything in a waterproof pouch or a ziplock bag.
I also like to bring a manual air blaster to knock off any sand or dirt from the lens. Be careful with lotion and suntan oils from your fingers getting on the lens, too. My latest toy that I picked up over the holidays is a Smartphone Stabilizer called the Smooth 4. A stabilizer successfully and easily removes the shake from your footage. This is especially nice when it gets buffeted around by the waves or when walking down the beach.
How do you create contrast when shooting on a white canvas like snow?
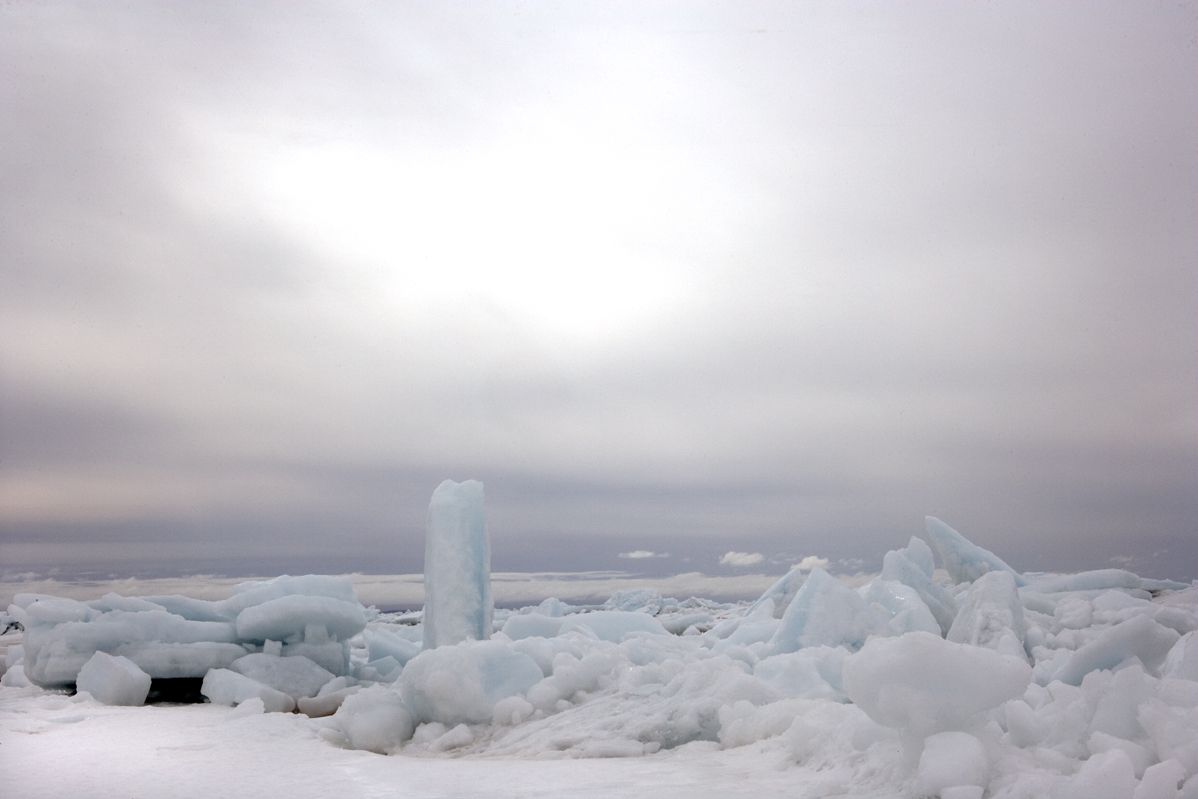
Shooting on snow is not dissimilar to shooting on sand, except it’s normally much colder! The most important thing to do when shooting on snow is to expose for the snow, otherwise it will be a complete whiteout with no details in the snowy areas.
Smartphones will often automatically read the snow as too bright and create an image that is too dark and contrasty. To avoid this, find an area of snow that has some definition and touch the screen so that the camera exposes for that zone. Finding a place in the image which has a bit of snow and a darker area helps create a more balanced exposure and contrast.
What’s the best way to capture fellow skiers and snowboarders hurtling down the mountain?
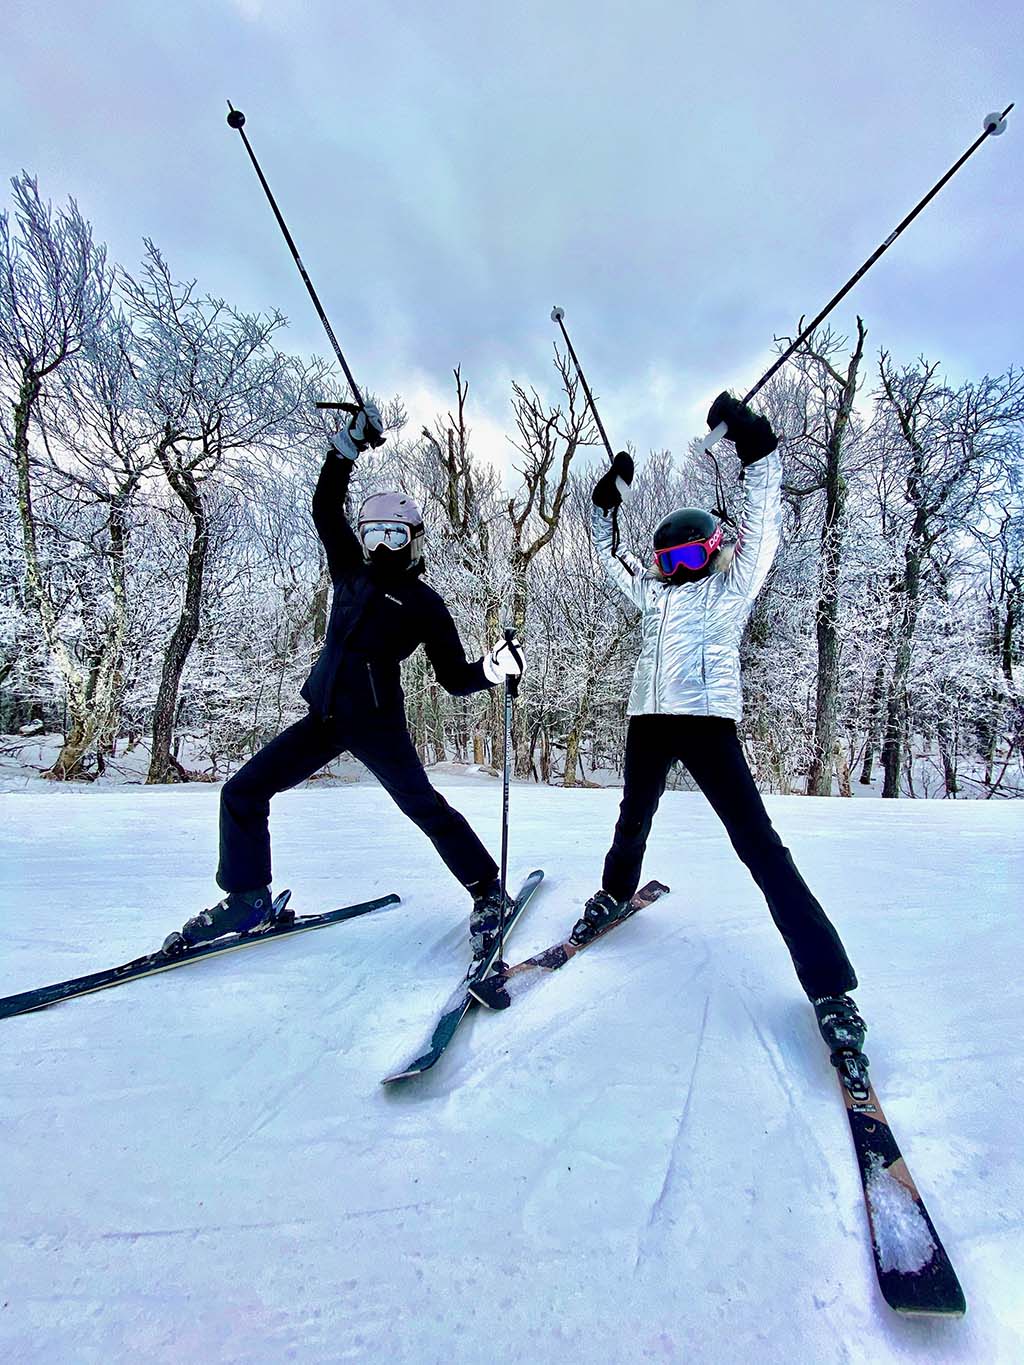
GoPros are very popular and it’s certainly easier to have a camera mounted to your helmet. But, I still prefer to use either a camera or my iPhone. This way I can see exactly what I am doing and shooting while it happens.
My best shots come when I too am hurtling down the mountain and shoot my subject as I pass them by or when they pass me. Sometimes when I get ahead of my family, I’ll stop and get my camera out to photograph them as they fly by. You can capture them appearing still when the background moves by using a longer exposure and panning the camera at them.
Using my iPhone 11 I enjoy getting really low with the wide angle lens as it exaggerates the skis and poles helping to make your images jump off the screen!
Simple, but a classic. What’s the best way to capture the ski lift selfie?
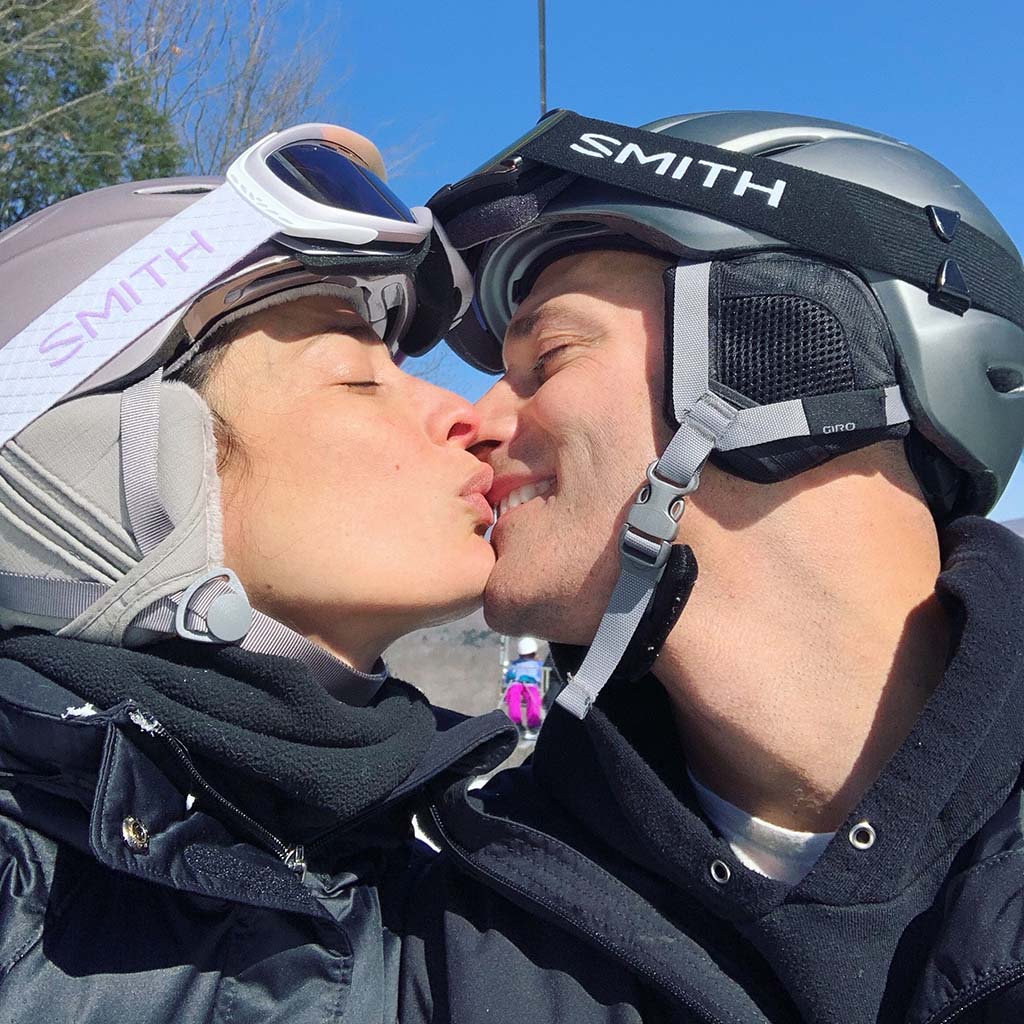
Indeed, what else are you going to do on a ski lift?! And the most important thing to do on a ski lift while taking a selfie is not drop your camera, poles, or mittens!!
Having mittens that unzip releasing gloved hands is great. Otherwise, make sure you have your mittens attached to your wrist, get your poles and lay them on your lap, and take your selfie using the side capture button on your iPhone. This way you don’t fumble with your camera in your hand.
How do you protect your camera in the cold?
It’s true that your battery will drain much quicker in the cold. On Arctic expeditions that I’ve done, we removed the batteries from our cameras and attached them to our bodies with long cables to keep them warm. Keep your iPhones or point and shoot cameras in an inside pocket close to your body. Otherwise, you might find yourself staring at a flashing battery icon just when you need it most!
What are some of the print projects that you’ll be making with your holiday travel shots?
I have already put together a Mimeo Photos photobook from our New Year’s Eve trip to Turks & Caicos. A copy for my family and a copy for our friends we traveled with. Photobooks have always made the best gifts to really capture the whole experience so you can sit back and reminisce on the fun times in all its glory. Not to mention, it reminds you of warmer times as winter sets in!
We live in upstate New York with quick access to skiable mountains. As such, there’s nothing quite like the whole family dressed up in ski gear set against a snowy mountain peak to create a dynamic image worthy of next year's holiday card!
Finally, my daughter asked me for a photo print of her in her swimsuit and one of her in her ski outfit so she could put them side by side in her room. It’s now become the focal point for all her visiting friends to laugh at the juxtaposition!
How do you use layouts and spreads to tell the story of your travels?
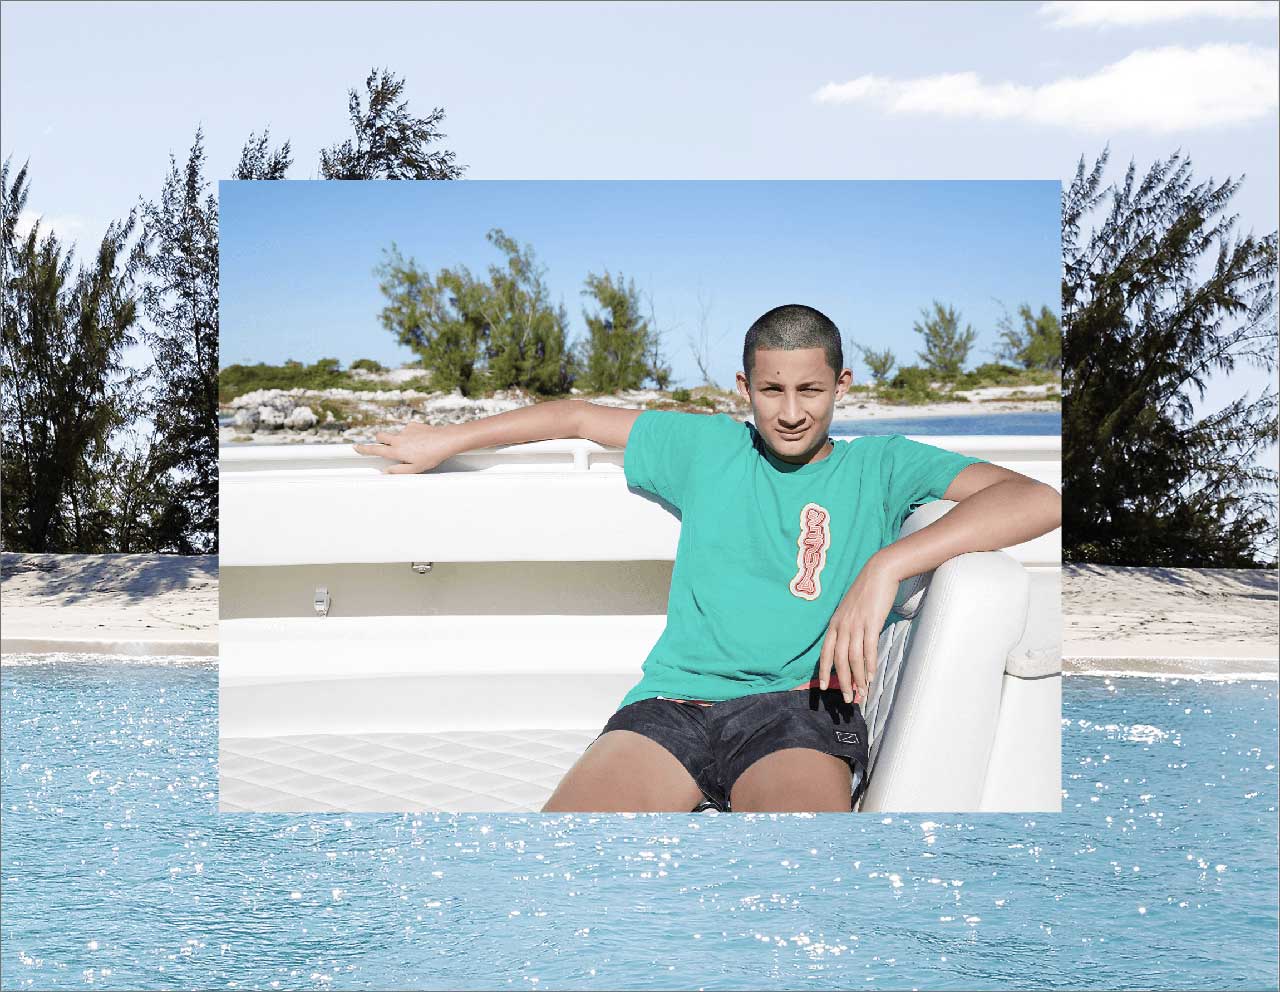
I love to use the large expansive landscape shots as a double page canvas and then put tighter portraits across it, so the whole double page is filled with color.
It also helps tell the story of where you were that can sometimes escape a more intimate headshot-type image. I also like to go from a full bleed page to a smaller detail across a framed page with a big white border to give the image extra gravitas.
You may also find once you have made your photobook that you have lots of leftover images that you love, but didn’t use in the book. I like to use the layout option with multiple frames and end the book on a medley of images that look almost like a box of chocolates, each picture with its own story and memory.